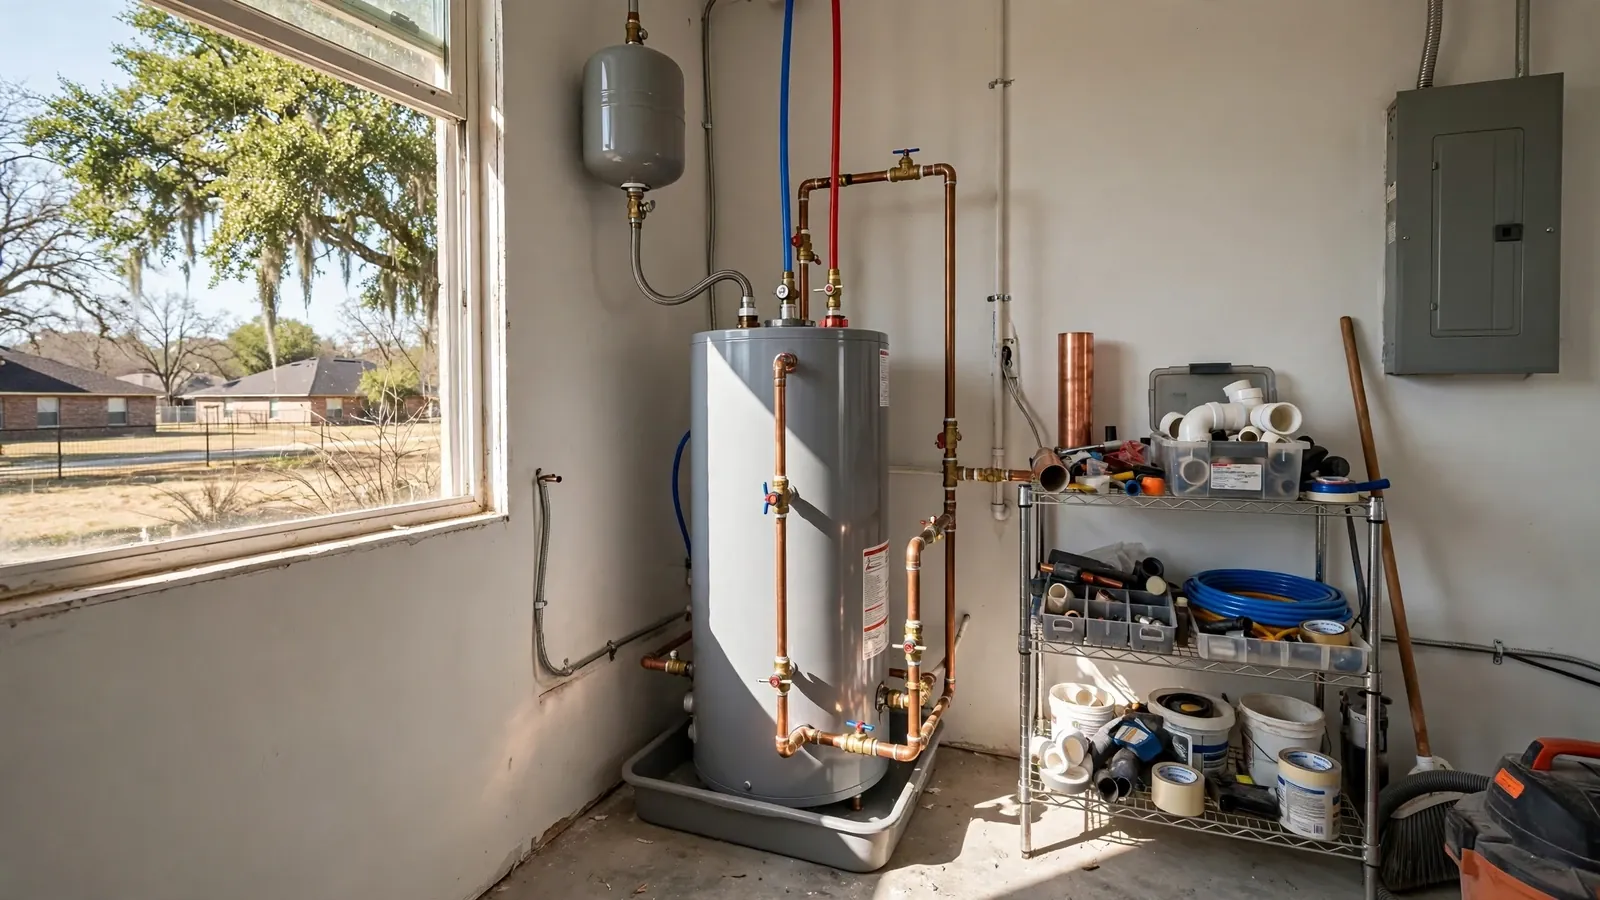
Water heater installation in Morton Grove, IL is the process of setting a new heater in place, connecting its water, fuel and vent lines, testing for leaks, and passing the village inspection. The order of the work matters. A plumber who shuts off the right valves first, tests every joint before lighting the heater, and meets the inspector at the end leaves you with a safe, documented install.
Here is the sequence from start to finish, what you should prepare, and what the inspection looks at. If you need a licensed plumber to schedule the work, call (847) 281-8626. Dispatchers answer around the clock, and a same-day booking is possible if the day has an opening.
Before anyone touches a wrench
Good installs start with a short survey. The plumber looks at where the heater will sit, how the water lines run, whether the fuel supply and vent are in good shape, and where the discharge from the relief valve will go. That walk-through produces the written price and the list of materials.
This is also when permit paperwork begins. Morton Grove requires a permit for water heaters, and the plumber normally files it. Ask who will apply, who will meet the inspector, and whether the quote includes the permit fee.
What you should prepare
You can speed up install day and keep the price steady with a few small jobs:
- Clear a path from the door to the heater, and move boxes, bikes and laundry baskets.
- Make sure the plumber can reach the electrical outlet, the main water shutoff and the gas shutoff.
- Plan for no hot water for the working day, and warn anyone who works from home.
- Secure pets away from the work area.
- Know where the floor drain is, in case water spills.
The install, step by step
Install day in order
- 1Shut off the suppliesthe plumber closes the cold water supply to the heater, and the gas or electric power. Gas heaters get their gas valve closed and the pilot or igniter turned off.
- 2Drain the old tanka hose runs from the drain valve to a floor drain or outside. Opening a hot tap upstairs lets air in so the tank empties faster.
- 3Disconnect and removewater lines, gas or electric connection, vent pipe and relief valve discharge come off. The old tank is lifted out and moved to the haul-away route.
- 4Set the new heaterthe tank goes on a level base or pan, and the plumber checks that it will be accessible for service later.
- 5Connect water, fuel and ventnew flexible connectors, a shutoff valve, a sediment trap on gas lines, and a vent that slopes and seals properly.
- 6Fit the safety partsa temperature and pressure relief valve with a discharge pipe to a safe spot, and often an expansion tank.
- 7Fill, purge and testthe tank fills, air is bled from the lines, and every joint is checked for leaks before the heater is lit.
- 8Light and verifythe plumber lights the burner or turns on power, checks combustion and draft on a gas unit, and sets the temperature.
Each step is simple on its own. The risk comes when someone skips the test in step seven.
Gas versus electric steps
The steps above cover both kinds of heater, but a few details differ. A gas heater needs a leak-tested gas connection, a draft check on the vent, and proof that the burner flame looks right. An electric heater needs the right breaker and wire size, a safe disconnect, and a check that the elements will not fire before the tank is full.
Never let an electric element run dry. If a plumber turns on power before the tank is full, the elements can burn out in minutes. A careful installer fills the tank and runs a hot tap until water flows before restoring power.
If you smell gas
Everyone goes outside first. Once clear of the house, call 911 and the emergency number on your Nicor Gas statement. Indoor switches and phones stay untouched until the utility says the house is safe.
Safety devices people forget
The relief valve is the most important safety part on the heater. If the tank overheats or over-pressurizes, this valve opens and sends water out through a discharge pipe. The pipe must run down to a floor drain or outdoors and must not be capped or threaded at the end.
An expansion tank handles the extra pressure that appears when water heats up in a closed system. If your home has a backflow preventer or a pressure-reducing valve on the main, the plumber will likely recommend one. It is a modest part that protects both the heater and your fixtures.
What the inspection looks at
After the work, a village inspector checks that the installation meets the adopted codes. The inspector looks at the permit, the relief valve and its discharge, the vent on a gas unit, the gas connection, the water connections, clearances around the heater, and the electrical disconnect or wiring. They may ask to see the unit's label for its rating.
Passing is easier when the plumber installed to code in the first place. If the inspector finds a problem, the plumber fixes it and requests a recheck. Ask for a copy of the final permit card for your records.
| Stage | Who is responsible | What you should get |
|---|---|---|
| Permit application | Plumber | Permit number or confirmation |
| Installation | Plumber | Work done to code |
| Leak and combustion test | Plumber | Verbal or written confirmation |
| Village inspection | Plumber and inspector | Passed inspection |
| Paperwork | Plumber | Receipt, warranty, permit card |
Mistakes that cause callbacks
A few installation mistakes cause most of the repeat visits. Poor venting can send exhaust back into the room. A missing sediment trap can clog the gas valve. An uncapped or badly routed relief valve discharge can scald someone or flood a basement.
Another one is skipping the pan or drain provision. In a finished basement, a leak with no pan under the tank can soak flooring before anyone notices. Ask about a drain pan and a leak alarm if the heater sits above living space.
Choosing who installs it
State law requires a licence of every person who works on plumbing, whether the job is an install, a repair or routine upkeep. The public search on the IDPH website lets you confirm a plumber before the old tank is drained. Compare the name and licence number it returns with what is printed on the quote.
Our water heater installation page explains how we scope a job. For work that involves moving fixtures or adding lines beyond the heater, see our plumbing installation service. We also serve neighbors in Park Ridge and Niles, where the same step-by-step process applies.
Morton Grove note
Morton Grove adopted the Illinois 2014 Plumbing Code plus local amendments, and a permit is required for water heater installation. A company doing this work in the village must also hold a Village Contractor's License, with liability insurance and a bond behind it. Permit review usually finishes within 15 business days, so ask your plumber how that fits your timeline. Before you hire, check the plumber's state licence and ask to see the village contractor licence too.
Source type: Morton Grove village building and permit pages
Questions about install day
Frequently asked questions
It depends on the heater type, venting and how the day goes. Plan for the working day and ask the plumber for a realistic window, not a promise.
An adult should be there at the start to approve the location and at the end to review the work. Many people also stay for the inspection.
In many homes it can move. Shifting plumbing fixtures to a new location is permit work in the village, and the new spot may need fresh venting and supply lines. Ask for the added work to be priced as its own line.
The plumber normally hauls it away. Confirm that removal is on the quote so you are not left with a heavy tank in the basement.
Yes. The plumber must install to that code plus the village's local amendments, and the inspector checks the work against it. A licensed plumber familiar with the village rules can tell you what applies to your heater.